Deploying Containers in AWS Fargate using Terraform - Part 1
Intro
Amazon Elastic Container Service (Amazon ECS) is a fully managed container orchestration service. It allows us to run containers in the AWS platform.
It supports two launch types:
-
You can host your cluster on a serverless infrastructure that is managed by Amazon ECS by launching your services or tasks using the Fargate launch type.
-
You can host your tasks on a cluster of Amazon EC2 instances that you manage by using the EC2 launch type. This allows you to have more control over your infrastructure.
This blog post will demonstrate how to run a Docker container using the ECS with the Fargate launch type (Serverless)
With AWS Fargate, you don’t have to provision, configure, or scale clusters of virtual machines to run containers. This removes the need to choose server types, decide when to scale your clusters, or optimize cluster packing.
In order to create all the resources required in AWS, we’ll be using Terraform which is an open source tool for building, changing, and versioning infrastructure safely and efficiently.
This is a diagram on how the final deployment will look

Main Concepts
Before jumping to the code let’s revisit some concepts and AWS terminology.
An ECS cluster is a logical grouping of resources.
To prepare your application to run on Amazon ECS, you create a task definition. The task definition is a text file, in JSON format, that describes how one or more containers should be provisioned. This includes CPU, Memory, Ports to expose, etc.
A service enables you to run and maintain a specified number of instances of a task definition simultaneously in an Amazon ECS cluster. If any of your tasks should fail or stop for any reason, the Amazon ECS service scheduler launches another instance of your task definition to replace it in order to maintain the desired number of tasks in the service.
A Task is a running container, is an instance of your task definition.
Amazon Elastic Container Registry (ECR) is a managed Docker container registry, like DockerHub. It makes it easy to store, manage, and deploy Docker container images. We’ll be storing in ECR the image that our task definition will be referencing.
Pre-Requisites
- Docker - https://www.docker.com/get-started
- Terraform - https://www.terraform.io/downloads.html
- AWS CLI - https://docs.aws.amazon.com/cli/latest/userguide/cli-chap-install.html
- AWS Account
The final source code for Parts 1 and 2 can be found here
AWS Credentials
Make sure you have the AWS CLI installed and a profile properly configured. If you need help, see: https://docs.aws.amazon.com/cli/latest/userguide/cli-configure-files.html
In the examples, I’ll be using us-east-1 as the region and myprofile as my named profile
[myprofile]
aws_access_key_id=
aws_secret_access_key=
Uploading Docker Image to the Registry
In this step we are going to create a new Repository in ECR so we can upload the Docker image that will be used in our task definition.
For simplicity, this is the only step we’ll be doing manually instead of using Terraform.
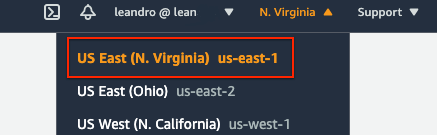
Go to AWS Console and make sure you are in the us-east-1 region.
Then navigate to Elastic Container Registry (ECR) and create a Private repository named ecs-test-mywebsite and confirm the operation by clicking Create repository.
![]()
To upload that image to ECR using AWS CLI we need to run the following commands:
- Retrieve an authentication token and authenticate your Docker client to ECR.
aws ecr get-login-password --region us-east-1 --profile myprofile | docker login --username AWS --password-stdin XXX.dkr.ecr.us-east-1.amazonaws.comNotice I added –profile myprofile to use my profile instead of the default.
- To make it simple in this example, I will download a docker image already built with Apache HTTP Server instead of creating my own with docker build.
docker pull httpd - Tag your image (in this example the one we pulled before) so we can push it to ECR
docker tag httpd:latest XXX.dkr.ecr.us-east-1.amazonaws.com/ecs-test-mywebsite:latest - Push this image to your newly created AWS repository in ECR
docker push XXX.dkr.ecr.us-east-1.amazonaws.com/ecs-test-mywebsite:latest
Make sure to replace XXX with your AWS Account Number as shown in ECR or in View push commands

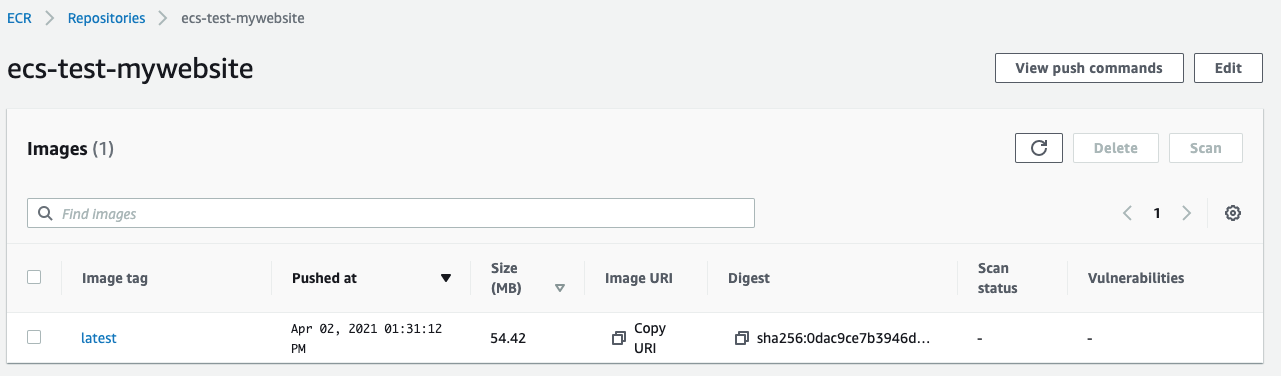
Once the last operation completes, you should see the image in ECR:
Although I did these steps manually using the command line, in a real scenario the Docker image creation and upload to ECR should be managed by our CI/CD Pipeline.
Terraform Baseline
We are going to create a new folder for our Terraform project and add two files:
aws.tf
provider "aws" {
    region = var.region
    profile = var.profile
}
This file has the AWS region where we want to create our resources and the profile (from the .credentials file) with the credentials for the AWS account.
Instead of using them directly, we are using two variables which are defined in the second file:
vars.tf
variable "region" {
    description = "AWS Region"
    default = "us-east-1"
}

variable "profile" {
    description = "AWS Profile"
    default = "myprofile"
}

variable "prefix" {
    description = "Prefix for our AWS resources"
    default = "ecs-test"
}

variable "tags" {
    description = "Default tags for our resources"
    default = {
        "Component" = "ECS Example"
        "Author" = "Leandro"
    }
}

variable "vpcid" {
    description = "VPC ID"
    default = "vpc-XXX"
}

variable "ecr_image" {
    description = "Image URI in ECR"
    default = "XXX.dkr.ecr.us-east-1.amazonaws.com/ecs-test-mywebsite:latest"
}

variable "subnet" {
    description = "Subnet Id"
    default = "subnet-XXX"
}
This file has some variables that we will be using through the rest of the project:
-
prefix: we will prefix this to all the resources created for easy identification.
For instance:
name = “${var.prefix}-cluster” will be created as “ecs-test-cluster” -
tags: Tags are not required, but it allows you to categorize your AWS resources in different ways, for example; by purpose, owner, environment, etc. This is useful when you have many resources of the same type.
In this case we define some default tags and will see later how to add custom ones per resources as needed. -
ecr_image: this is the URI where our ECR image is located. This will be used in our task definition.
-
vpcid: a VPC is required in order to create the Security Group.
You can find your VPCs in https://console.aws.amazon.com/vpc/home?region=us-east-1#vpcs:sort=VpcId -
subnet: You can find your subnets in https://console.aws.amazon.com/vpc/home?region=us-east-1#subnets:sort=SubnetId
Adding the Cluster
Now we will add a file named main.tf, this will contain the AWS resources we want to create.
We’ll start with only a cluster, to get a sense of how to run Terraform, test our AWS Credentials and make sure everything is configured properly.
main.tf
# Cluster
resource "aws_ecs_cluster" "cluster" {
    name = "${var.prefix}-cluster"
    tags = merge(var.tags, {
        "Name" = "${var.prefix}-cluster",
    })
}
In this case we assign a name to our cluster, by using the prefix variable we defined previously, and we also add some tags.
Running Terraform
Terraform is an infrastructure as code (IaC) tool for building, changing, and managing infrastructure in a safe, repeatable way.
Infrastructure as code as a concept, is the process of managing infrastructure in a file or files rather than manually configuring resources in a user interface. A resource in this instance is any piece of infrastructure in a given environment, such as a virtual machine, security group, network interface, etc.
Make sure you follow the installation guide before running these commands.
Basic Commands:
- terraform init: Initialize a Terraform working directory
- terraform plan: Generate and show an execution plan
- terraform apply: Builds or changes infrastructure
- terraform destroy: Destroy Terraform-managed infrastructure
The full list can be found in https://www.terraform.io/docs/commands/index.html
Terraform Init
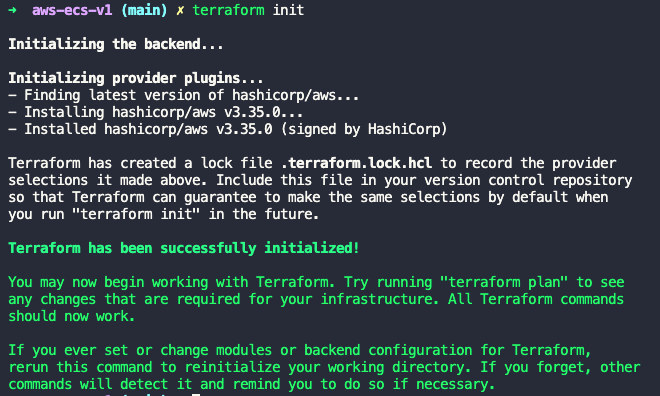
The first command we’ll run is init to initialize the working directory:
terraform init
Terraform Plan
After initialization, we’ll run plan:
terraform plan
Although this command is not needed, it is a convenient way to check whether the execution plan for a set of changes matches your expectations without making any changes to real resources or to the state.
If you get the error “Error: No valid credential sources found for AWS Provider.” make sure your profile name in vars.tf match your profile in .credentials file.

Terraform Apply
The last command to create the resources is apply:
terraform apply
When asked for confirmation we need to type yes and press enter. Once we accept, Terraform will persist (create, destroy or modify) the resources as needed in AWS.
If we want to skip the confirmation and auto accept the changes, we can run:
terraform apply --auto-approve
Plan: 1 to add, 0 to change, 0 to destroy.

Do you want to perform these actions?
  Terraform will perform the actions described above.
  Only 'yes' will be accepted to approve.

  Enter a value: yes
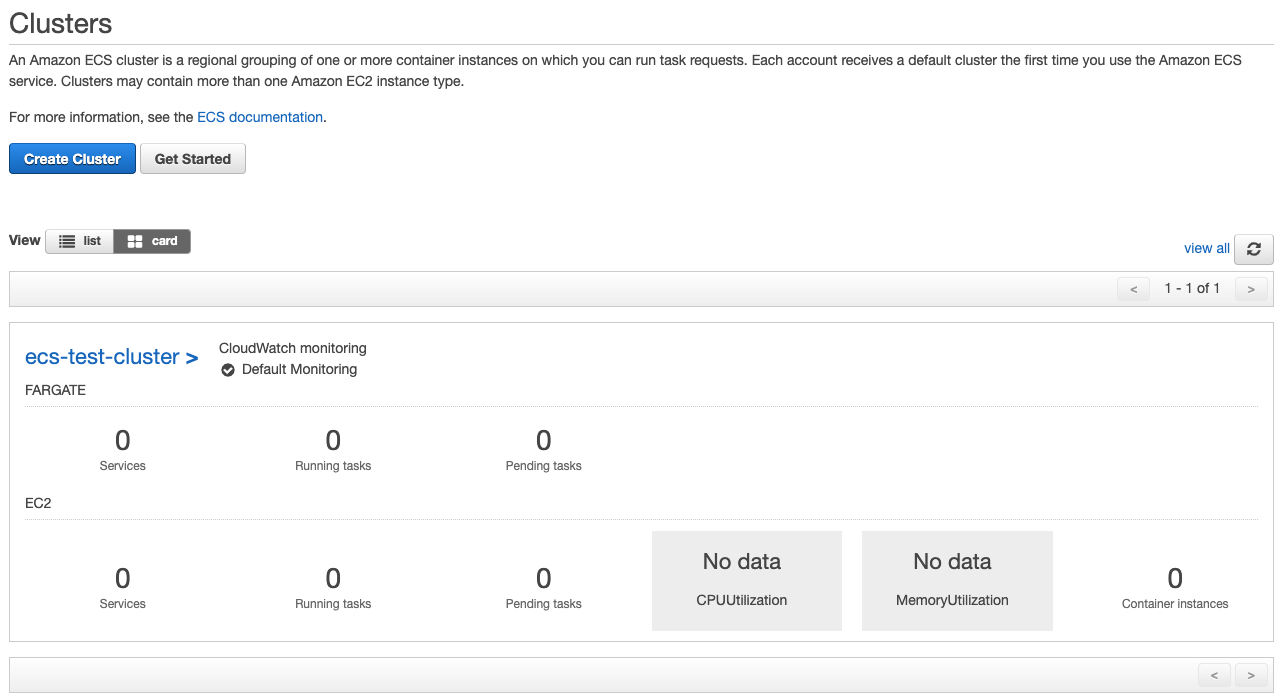
Once done, we should see our cluster in the AWS Console. At this point it is empty and with no functionality, but we tested that we can run Terraform properly.
Terraform Destroy
If we want to delete the resources created, we’ll use destroy
terraform destroy --auto-approve
What’s next?
Continue to Part 2